The radio is great. But the clock light is way too bright. Turning it toward the wall makes the wall too bright. It's more like a dim night-light.
The bright clock light can be dimmed if you're willing to open up the Tivoli.
Anyway, if you're handy, like opening things up, and willing to void the warrantee, you can open it the Tivoli Model Three and dim the light by physically covering up the bulb. You need a standard Phillips and a small Phillips-head screwdriver. Needle-nose pliers can be helpful.
Unplug and unscrew the six screws in back. Do the visible two first as they hold the computer board in place. The front and back can now come out. Unplug the clock's connection from the back of the unit. It's a standard computer-style power plug. But you have to remove or cut some of the gummy holding material first. Remove the smaller cord (snooze button) from the clock that comes from the clock.
Unscrew the three screws holding in the clock and maybe rotate counter-clockwise slightly (I don't know if rotating is necessary, but that's how I did it). Pry out the clock (toward the internal side of the clock) with a little careful force. There are plastic parts than seem pretty strong, but be careful. Things will unclick and release under light force. Make sure the screw holders don't get caught in the wires (fm antenna?) wrapping around the clock. Now you can work on the clock unattached from the radio.
Be careful with the unprotected clock arms. You can hold the clock for the remainder of this procedure. If you hit the hour hand, it may come loose swing freely (I did this). Don't despair, you can press it back down to lock it back in. Just be sure to synch it with the alarm and minute hand.
Peel back a little of the foam insulating material around the whole edge of the back of the clock and a little more at 9 and 3 o'clock (literally) to reveal two screws. Unscrew and remove the back.
The clock, by the way, is a cheap Chinese-made Guangzhou "Fuda #2039." Without the electric time-set motor and light, it's just like the kind of travel clock you buy from street vendors for $5. And it does run from the single double-A battery. Shame on Tivoli, usually they're so classy.
Almost there. Remove the 4 small screws on the top of the back of the clock and remove that little part. The light is on the front side of this part. Cover the light with electrical tape (I wouldn't use black tape as it may cut all light). Or maybe some nail polish or white-out or anything, really. The bulb is small so nimble fingers come in handy. I covered the bulb with 2 small pieces of red electrical tape. One of the top of the bulb and the other wrapping around, holding the first in place. Works great.
Reassemble everything. The only tricky part is pressing the clock back into the front plate. Make sure the small (useless?) wire is accessable. Be careful to line up the groves of the clear alarm face when pressing it back in. And keep 12 high. Press gently and turn gentle until everything is lined up and then press the clock back in until it clicks. Make sure the three screw holes don't get caught on the fm antenna wires. Plug the small wire back in the clock. Reconnect the clock power supply in the the back. Re-screw back and front together.
Plug in and make sure everything works. It should. There's nothing too hard. Especially if you've ever opened up another electronic product.
And if you think this is crazy and expect your $200 clock radio to be out-of-the-box great... well, you're right.
Sunday, May 07, 2006
Friday, May 05, 2006

house pictures
Not pictured, very slight leak in main water line coming into building.
From porch looking west
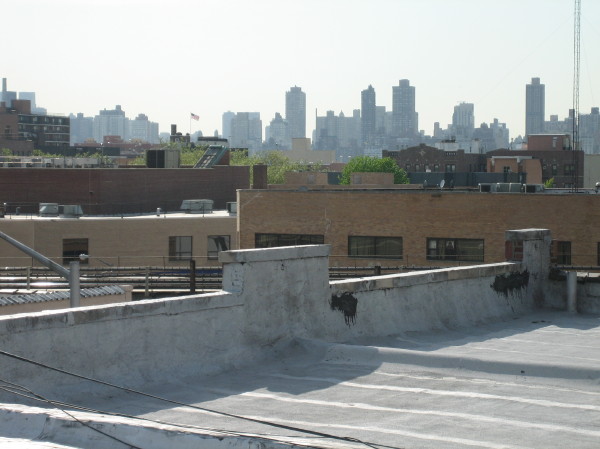
Similar Manhattan view from roof
other homes in row. view from front porch.
bathroom
looking up bathroom skylight
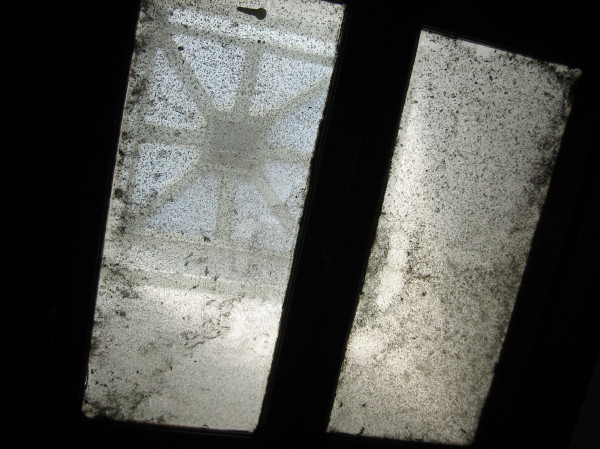
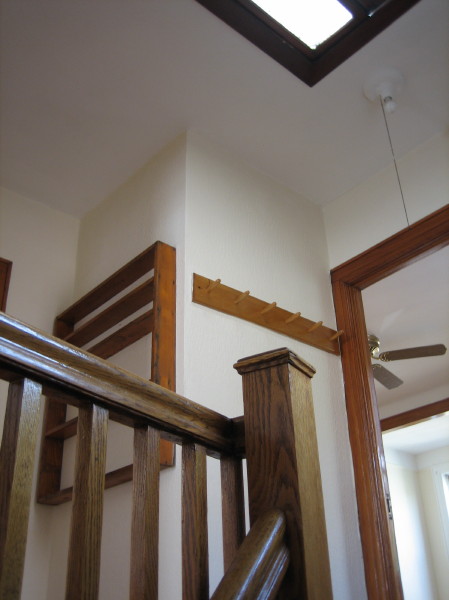
looking up hall skylight
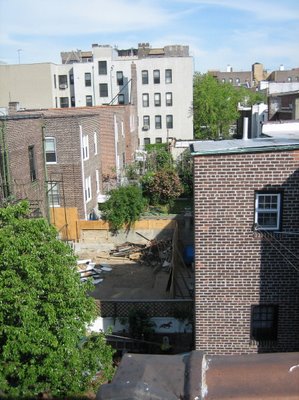
neighbor's garden
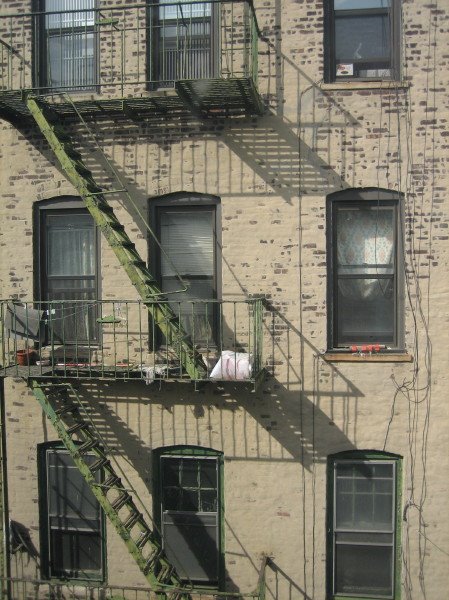
laundry line!
chimney needs tuckpointing
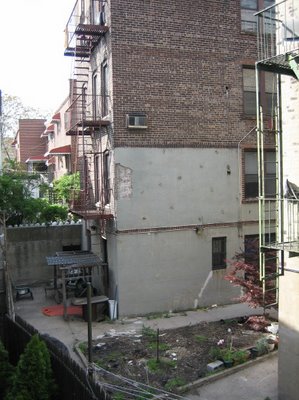
looking down on neighbor's garage
porch door detail
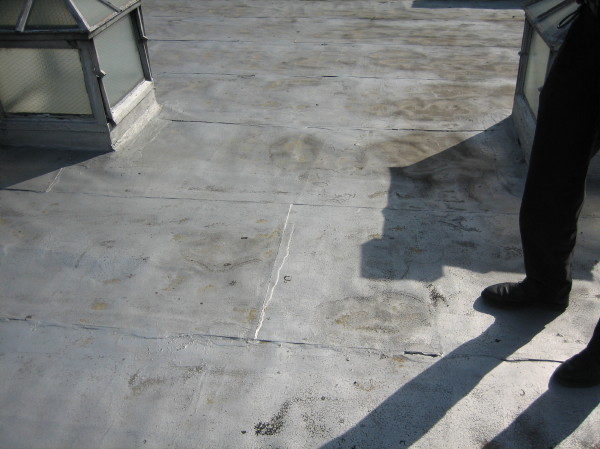
roof
roof closeup
roof looking forward
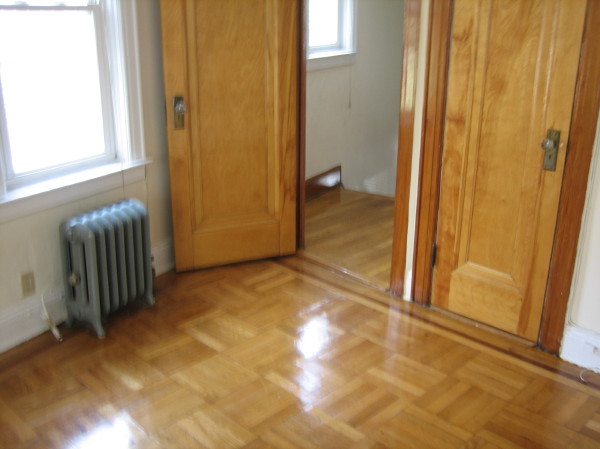
bedroom. closet door is on right
view of backside of the bedroom closet, perhaps future home of spiral staircase to roof
looking into bedroom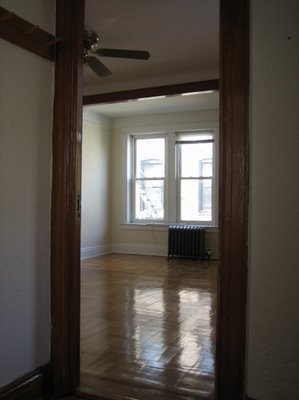
looking East from roof rear
bathroom
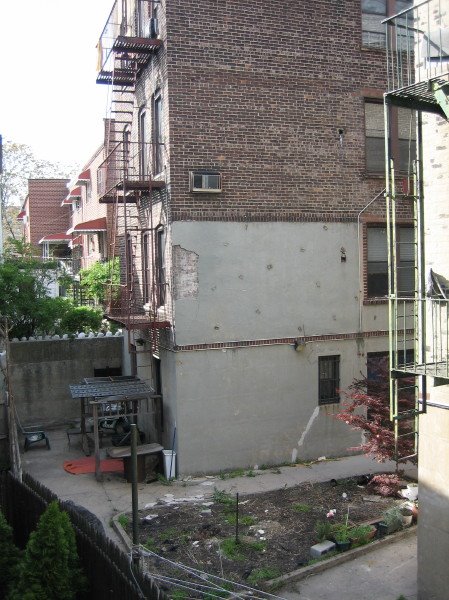
our little yard
neighbor's yard, view from kitchen pantry
other direction (west) from kitchen pantry window
looking straight back
looking down from bedroom
front
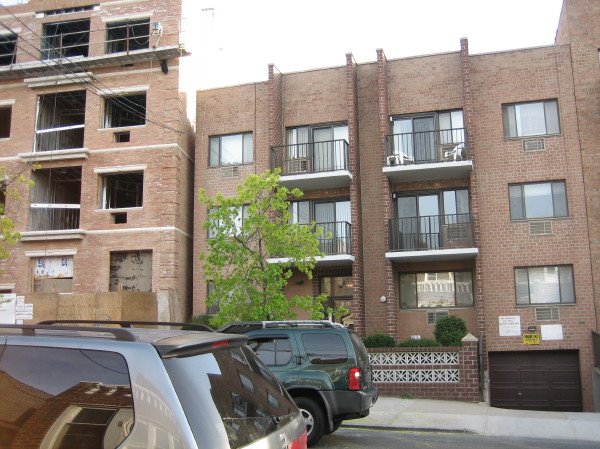
house and neighbor garage
house
front
house (on right)
between house and neighbor
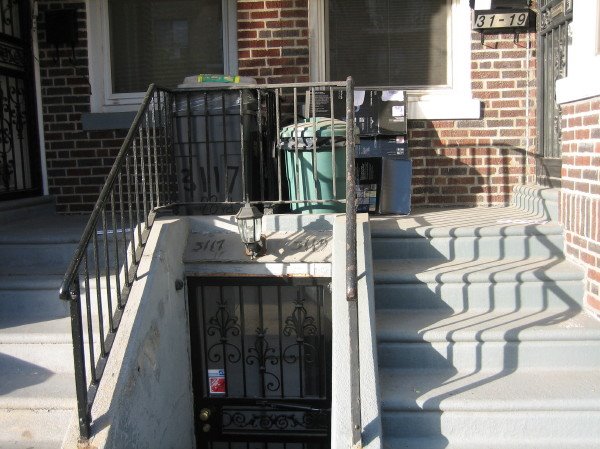
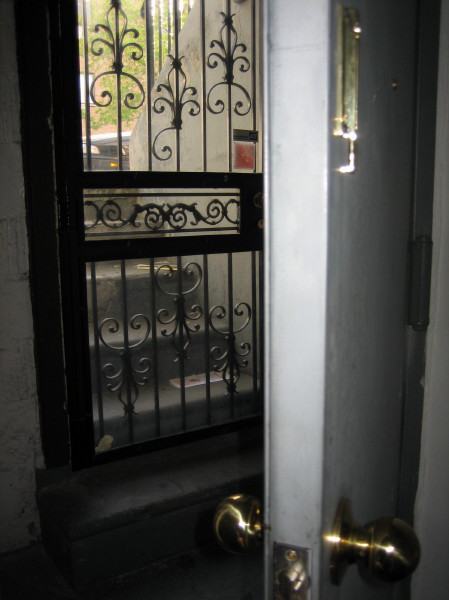
front door
view across street
front door
entrance
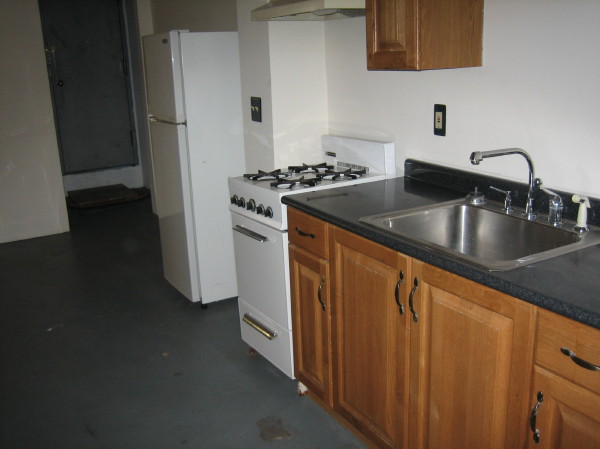
1st floor kitchen
kitchen cabinets
kitchen pantry
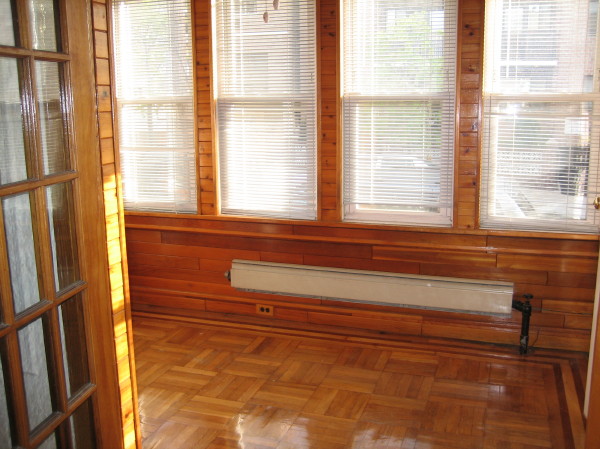
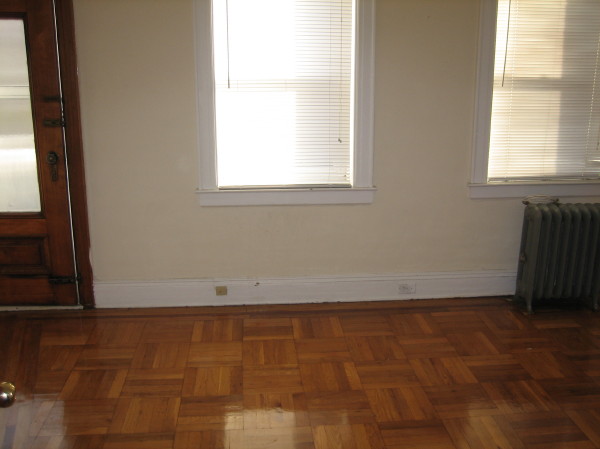
1st floor middle room

1st floor middle room looking back
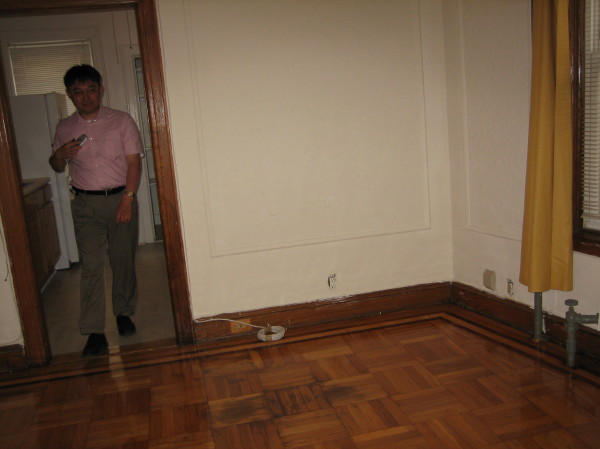
1st floor looking in from entrance
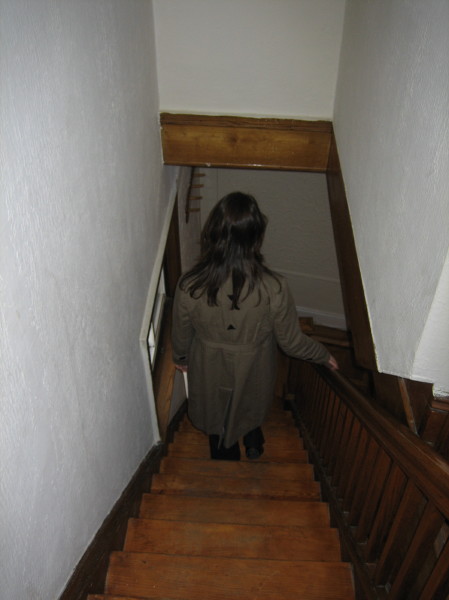
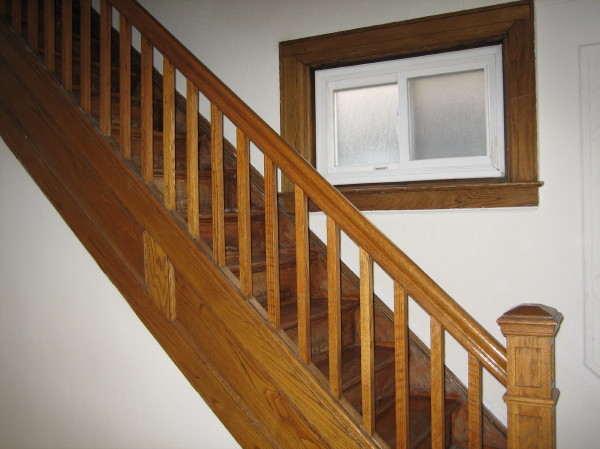
stairs
stairs to 2nd floor
2nd floor back, bedroom
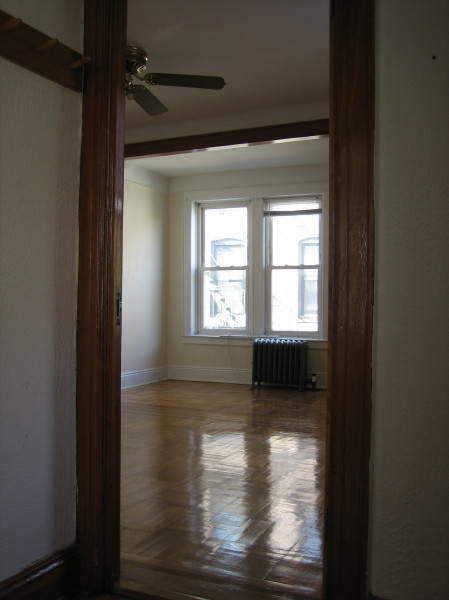
2nd floor back looking forward
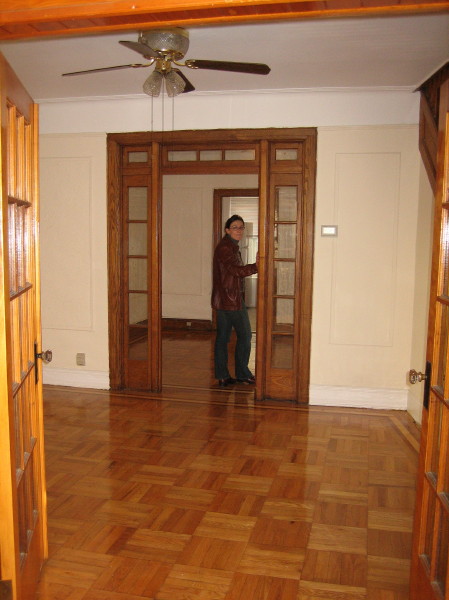
2nd floor toward porch
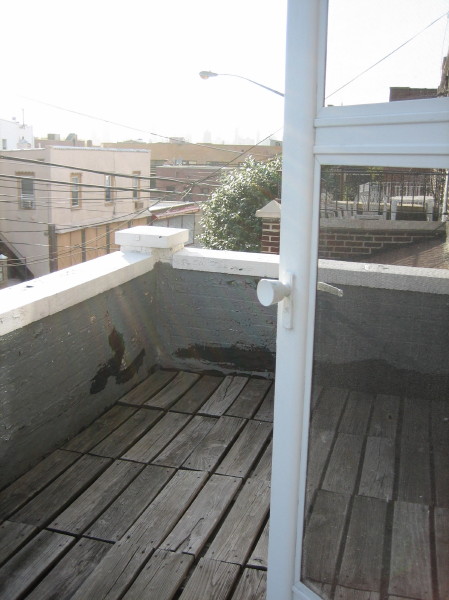
porch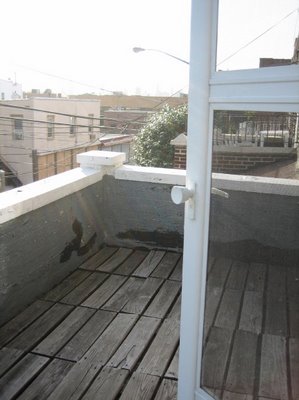
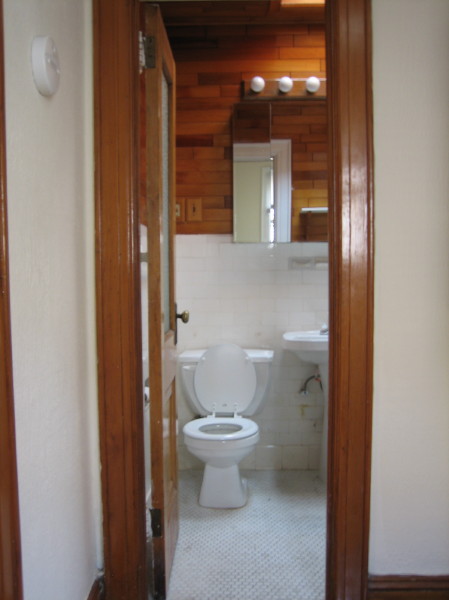
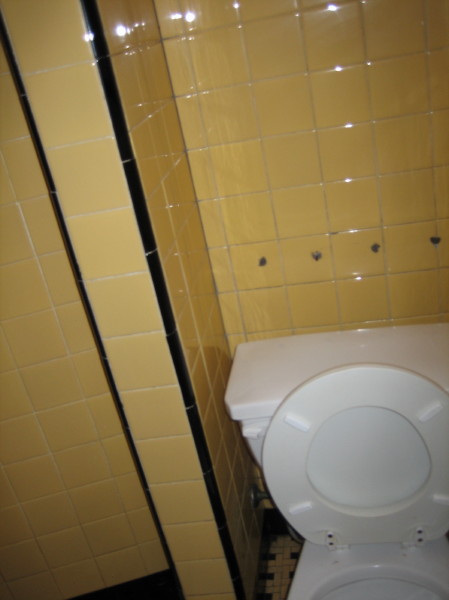
bathroom
bathroom door
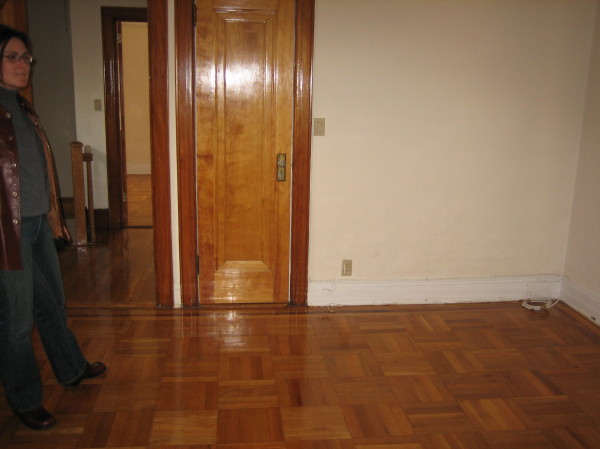
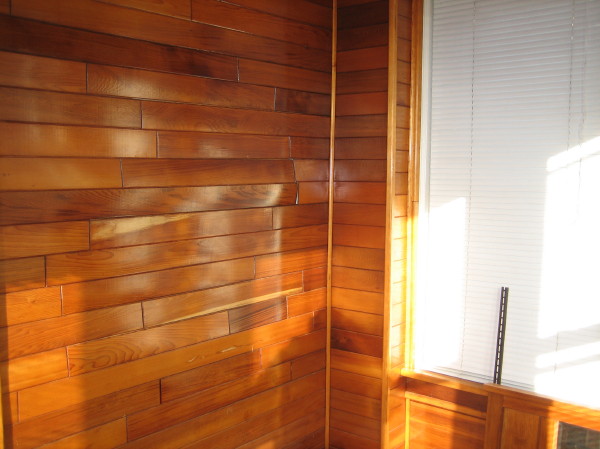
front entrance wood
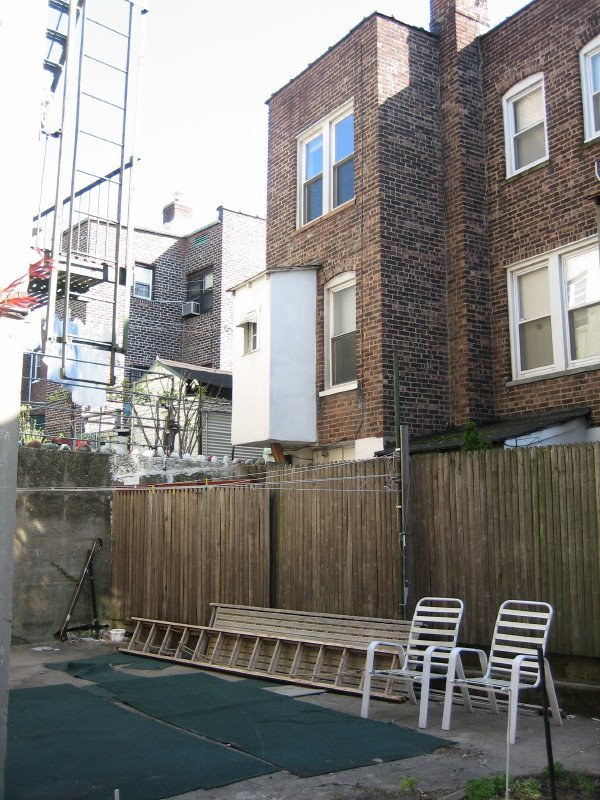
back yard-aki
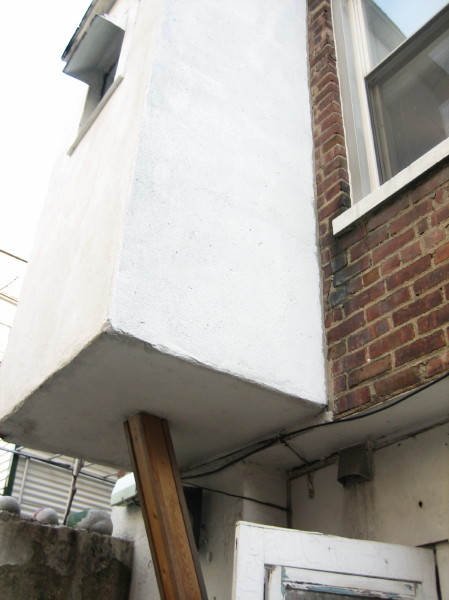
kitchen pantry from back yark-aki
view of rear of house
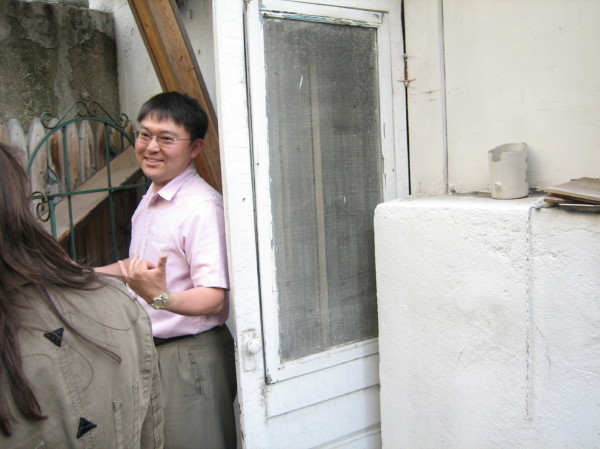
back door
back yard-aki grill
basement kitchen
basement look back
basement bathroom
basement entrance
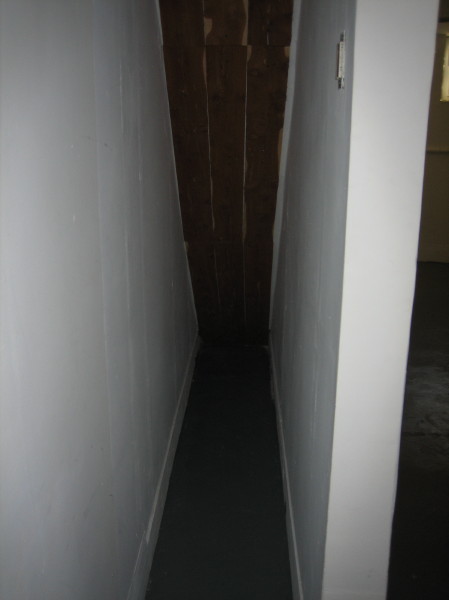
under stair storage in basement
front of basement
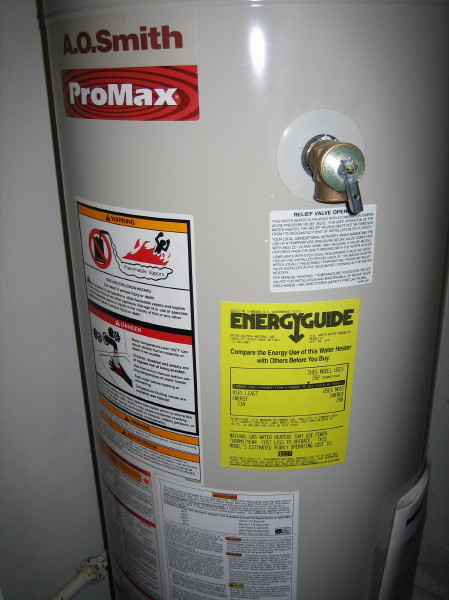
hot water heater
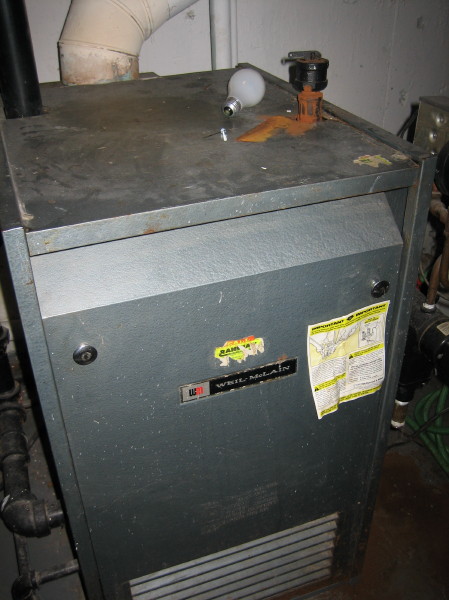
furnace
From porch looking west

Similar Manhattan view from roof
other homes in row. view from front porch.

bathroom

looking up bathroom skylight

looking up hall skylight
neighbor's garden

laundry line!

chimney needs tuckpointing

looking down on neighbor's garage

porch door detail

roof

roof closeup
roof looking forward

bedroom. closet door is on right
view of backside of the bedroom closet, perhaps future home of spiral staircase to roof
looking into bedroom
looking East from roof rear

bathroom
our little yard

neighbor's yard, view from kitchen pantry

other direction (west) from kitchen pantry window
looking straight back
looking down from bedroom

front

house and neighbor garage

house

front

house (on right)

between house and neighbor

front door

view across street
front door
entrance
1st floor kitchen

kitchen cabinets

kitchen pantry

1st floor middle room

1st floor middle room looking back
1st floor looking in from entrance
stairs
stairs to 2nd floor
2nd floor back, bedroom

2nd floor back looking forward
2nd floor toward porch
porch
bathroom

bathroom door

front entrance wood
back yard-aki

kitchen pantry from back yark-aki
view of rear of house
back door
back yard-aki grill

basement kitchen
basement look back

basement bathroom
basement entrance
under stair storage in basement
front of basement

hot water heater
furnace
Subscribe to:
Posts (Atom)